
I do not have a soap making or bath-and-body business, but I do own a small business making and selling gifts and home decor. In my day job, I want to produce products that are well made and look good without spending a lot of time on fussy stuff. I think this "simple, efficient, but nice" ethic shows up in the way I package and label my soap.
At first, I tried cigar bands and got annoyed because the band hides a lot of the soap bar and, what is worse, the band loosens with time and that problem is difficult to fix. Next I tried hand folding cute little boxes out of pretty paper. I love the look, but the tedious process had me grinding my teeth. I tried tying on a tag with raffia or ribbon and was all thumbs.
In frustration, I even tried leaving my soap just naked, but I didn't like how the soap collected fingerprints, dings, and lint and how the fragrance dissipated faster.
I eventually gravitated toward shrink wrap. It has its disadvantages, but shrink wrap works the best for me out of all the different packaging methods I've tried. The soap is protected yet visible and, after a little practice, shrink wrapping becomes fast and easy to do.
National Shrinkwrap sells a shrink wrapping system for soap, but as a hobby soaper I did not want to spend that much money. Instead, I have focused on using inexpensive shrink bags sold by PaperMart and other suppliers.
Prepare the soap, label, and bag
To get started, I assemble my soap, labels, and the other tools and materials needed on a clean, sturdy work table. Shown below are a box of cured soap bars, scissors, heat gun (DeWalt model D26950 is shown here), a box of 4 x 6 inch shrink bags (PaperMart #3636046), and a heat sealer (Papermart, Uline, eBay, etc).

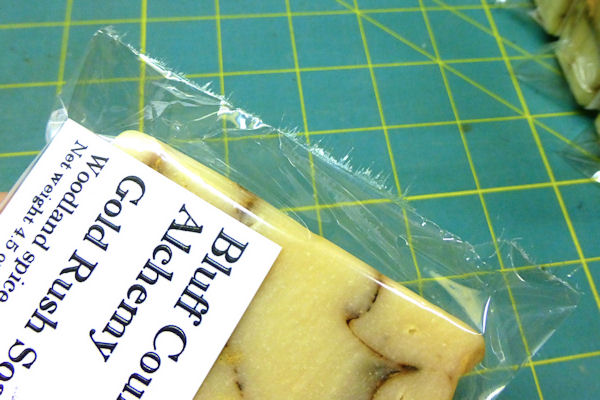
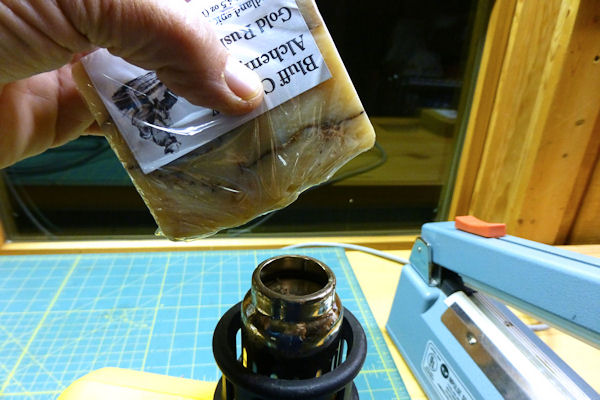
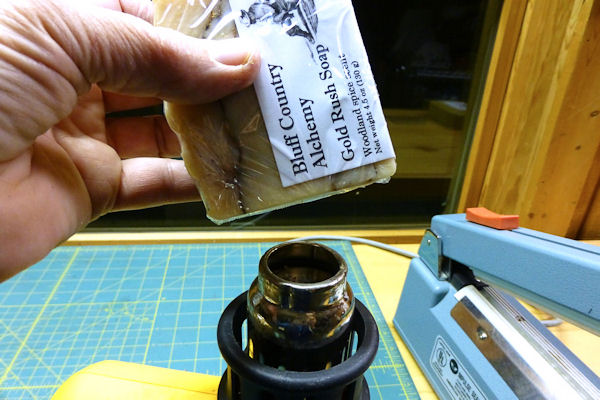
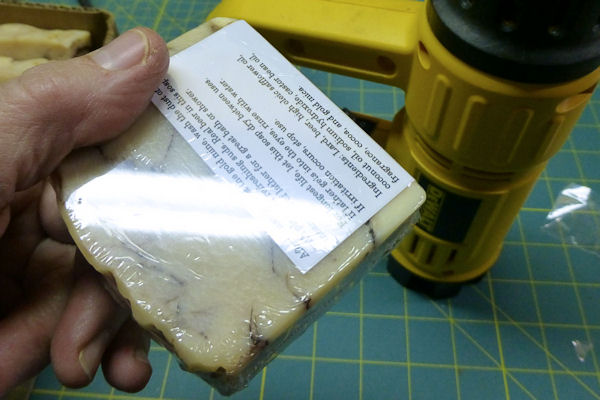
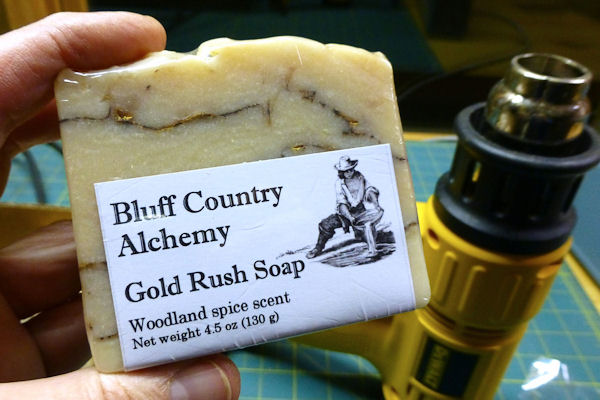
My labels form a "U" shape that covers the bottom and extends partway up the front and back of each bar. This lets more of the bar be visible while still giving plenty of room for product information. The shrink wrap holds the labels securely in place and protects the labels from being smudged and scuffed.
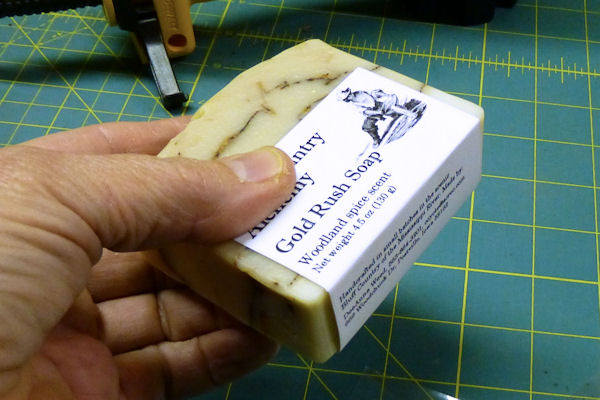
I fold the front part of the labels so the front corner is a nice sharp crease. I then wrap the label around a bar and find where the back needs to fold to fit that particular bar closely. This allows for variations from bar to bar.
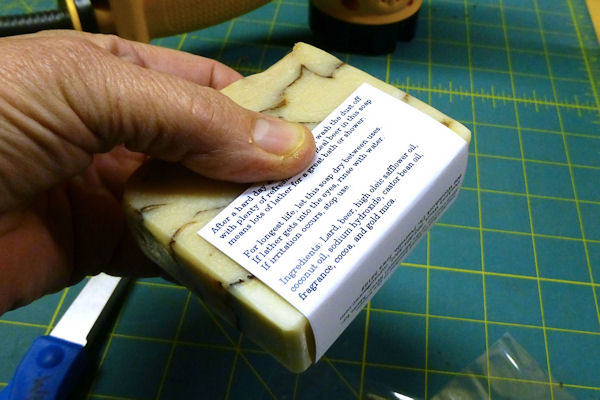
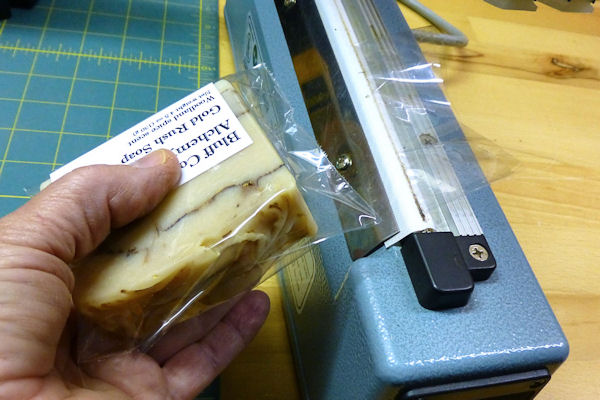
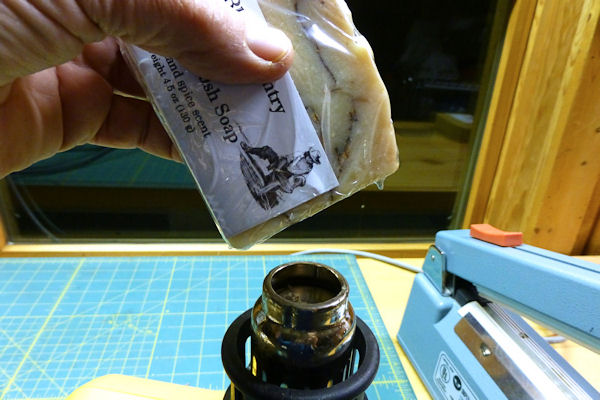
The labeled bar goes inside the shrink bag. I try to get the label positioned about where it needs to be on the soap. The label position can be adjusted again right before heat shrinking, but it is nice to get it reasonably close at this point.
Seal the bag
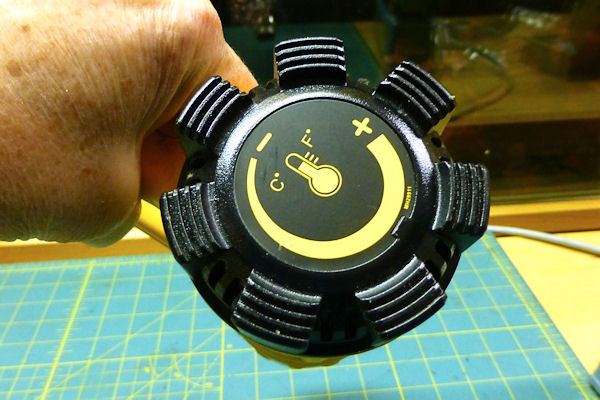
The next step is to use the heat sealer to seal the bag and remove the excess bag all in one operation. For the first soap bar, I have to do a little trial and error to get the heat setting just right. I put the bag into the sealer and press the sealing bar down to activate the heating cycle.
Right after the heat cycle ends (I can hear a little click when the power goes off), I continue to hold the sealing bar down while gently trying to pull the soap away from the bar. If the soap does not pull away easily, I increase the time setting (the dial on the front of the heat sealer) another notch and try again.
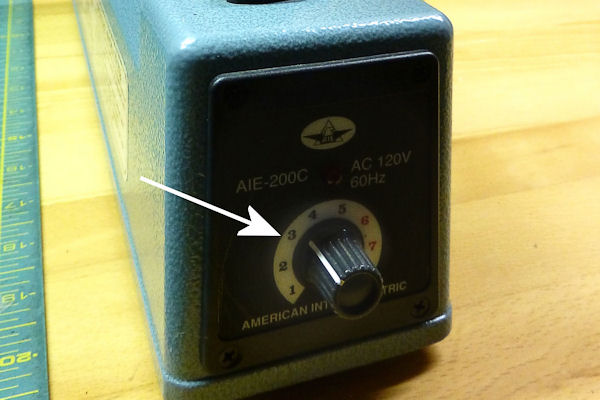
In this case, I started at "3". That didn't work, so I had to go to "4". At that higher setting, the bag sealed and melted through, so I could pull the bagged soap away from the sealing bar. The unwanted excess bag will remain behind, stuck to the sealing bar. I pull this waste portion off the sealing bar, leaving the heating surface ready for the next bar of soap. Once the heat setting is right, the sealing and trimming step goes fast.
Melting off the excess bag will leave a fringe of melted plastic along the sealed edge. That fringe will disappear when the bag is shrunk down, so it's nothing to worry about.
Heat shrink the bag
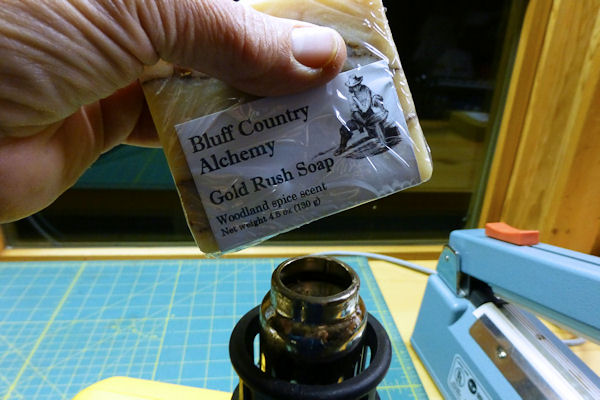
I use a fancy heat gun with an adjustable heat setting. I like this because I can tweak the temperature so the air is hot enough to shrink the plastic quickly, yet cool enough to avoid singeing my fingers or burning holes in the bag. I also like this particular heat gun because it is made to sit safely on a flat surface and blow upward.
Most inexpensive heat guns have just two settings, hot and hotter, and are intended to be held in the hand. If this is the kind you have, you will have to experiment with the heat setting and the method of use that works best.
After a lot of trial and error, I think it works best to first hold the narrow edges of the soap bar facing the heat gun and quickly rotate the soap around -- bottom, left side, top, right side -- to shrink the plastic around the edges.
After I make one circuit, I make a second circuit around the edges, moving a little quicker yet. The bag looks pretty ugly at this point, but don't despair.
At this point, the air in the shrink bag has no place to go and usually makes the shrink bag into a puffy pillow. Use a box cutter, the tip of a sharp knife, or razor blade to make a small slit somewhere in the back of the shrink bag -- the slit should be only 1/4" long or so.
The slit does two things -- it obviously lets the air vent out, but it also tends to grow in size during the shrink process and forms a small oval shape. Voila -- a convenient sniffy spot!
As you get better at shrinking the bags, try using the heat gun to "blow" a sniffy hole in the bag without first cutting a slit. It takes some practice to blow a hole without overdoing it, but it is faster once you get the hang of it.
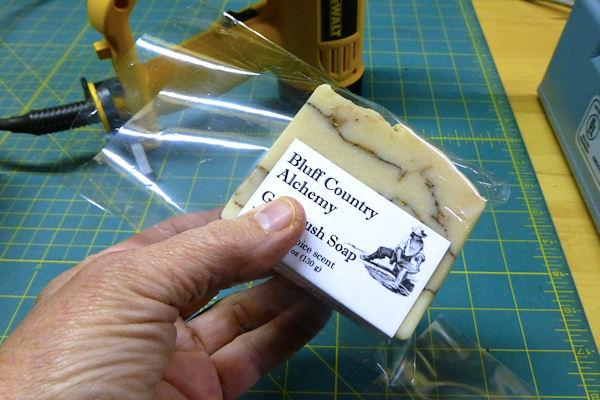
Next, I heat the front and back faces to shrink them. The bag starts to look much better as the plastic smooths down over the soap and shrinks tight.
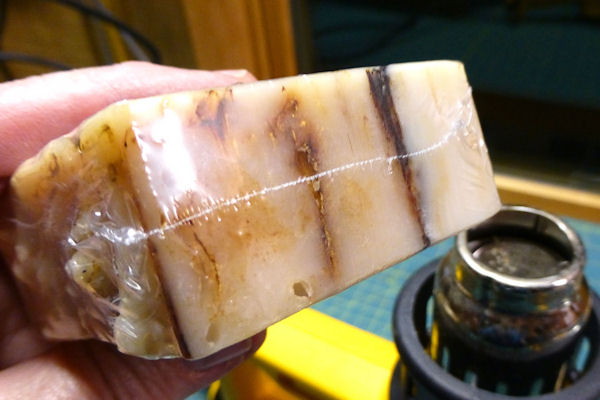
Here's what that melted seam with the fringe looks like after shrinking the bag:
Tidy up, inspect, and finish
I especially want to press down any sharp points and rough corners while the plastic is warm and soft. If the pointy bits don't get smoothed now, they can scratch the skin and look ugly.
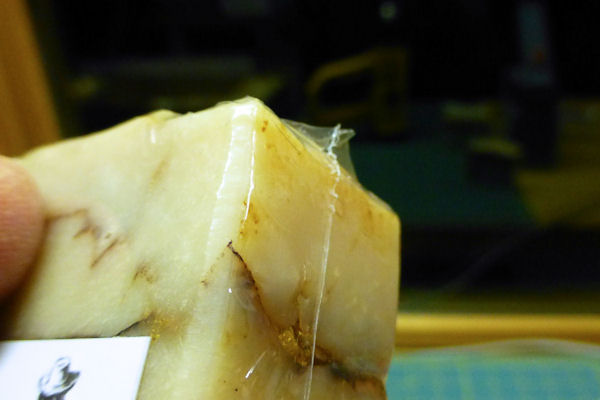
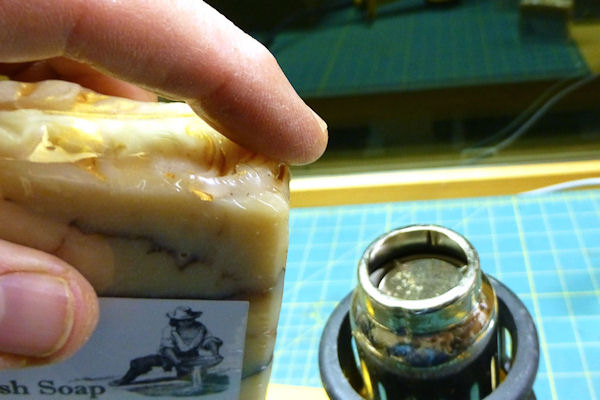
Sometimes the heat gun blows an unwanted hole through the shrink wrap, especially where the plastic does not touch the soap (see below). Occasionally the melted seam along the side is not secure enough and pops open when the bag is shrunk down. In either case, I usually remove the damaged bag and start over.

Shrink wrap is never perfectly glass smooth, at least not for me. I do my best to get it "good enough" and move on. As the soap continues to cure, the plastic may loosen slightly. I just lightly re-shrink it, and it looks nice again.
Copyright © 2002-2025 - All rights reserved by Classic Bells Ltd.
Template by OS-templates.com