
Ever wanted to make floating soap like the well-known Ivory Soap? Many people use a hand or stand mixer to whip air into fluid soap batter, and then pour this aerated batter into a mold to finish saponifying.
I learned that finished soap, when grated and melted using a technique called "rebatching", tends to puff up and aerate all on its own when it becomes warm enough. This rebatch method of making floating soap does not require a mixer, although you can use one if you like.
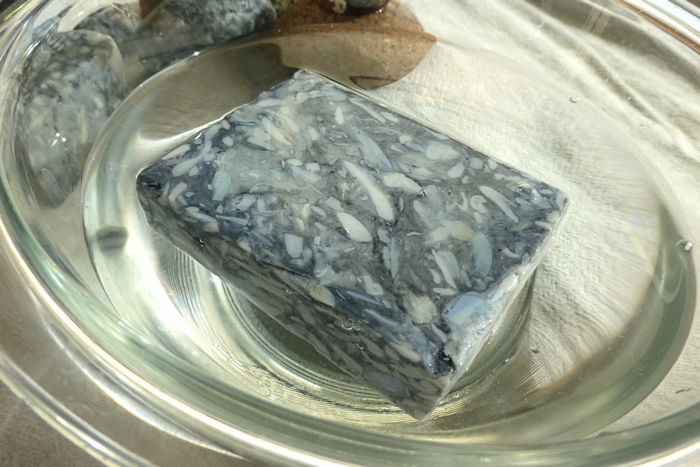
Whipped soap floating in water
Get prepared
Prepare a mold that is big enough for the batch of floating soap. If you grate 2 regular bars of soap, your mold should have a volume of 3 to 4 bars to contain all or most of the fluffier floating soap.
Choose one or more bars of soap to shred. Freshly made soap with a waxy texture is ideal because it will melt easier and more completely than soap that is well cured and dry or soap that is hard and brittle. Grate the bar soap into shreds.
Prepare any decorative additives, such as shreds of other soap to add for colors and texture, as well as any fragrance or colorant.
Pour a cup or two of distilled water into a small pitcher.
Find a wide pot with lower sides -- a stainless steel or porcelain coated skillet or dutch oven will work well. A wide pan means there is a large heated surface on which to melt the soap. Lower sides make it easier for you to stir without getting too stiff or tired.
If you have a heat diffuser to "soften" the heat from your stove burner, use it.
Melt the soap shreds
Put the diffuser on the burner, if you are using a diffuser, and the pot on top of that.
Turn the burner on medium low.
Put a small handful of shredded soapinto the pot and let them start to melt.
Add tiny portions of water -- a teaspoon to a tablespoon -- as the soap begins to melt and coat the bottom of the pan.
Let the water evaporate before adding more. The idea is to keep the soap from sticking too much to the pan, but not to increase the water content of the soap too much.
Stir gently but often to help the soap melt slowly and evenly.
Add more small handfuls of shredded soap, while continuing to stir and heat the soap, until all of the shreds are in the pot. Do not add a lot of shreds at one time -- be patient.
Watch the soap puff up
Continue to heat and stir the soap, adding small amounts of water as needed. When the soap warms to 140 to 150 deg F (60 to 65 C), it will begin to magically foam and puff up like warm Marshmallow Fluff / marshmallow creme.
Remove a small dollop of this soap and drop it into water to see if it floats -- it should! At this point, the soap shreds should be almost all melted.
You can use a wire whisk or electric hand mixer to beat more air into the soap and also to smooth the texture, but this is optional. If you do, beat the soap while the pan is still on the stove so the soap stays as warm as possible.
A stick blender will probably not work because the mixture will be very sticky and somewhat stringy, very similar to the texture of Marshmallow Fluff.
Mix in additives and fill the mold
Heat the soap slightly more to compensate for the cooling effect of adding other ingredients. When the temperature reaches 150 to 160 deg F (65 to 70 C), mix in any additives, fragrance, and colorant.
Put the soap into the mold. Pouring this sticky, puffy soap did not work well for me -- I used a spatula to more or less threw globs of the soap into the mold and force the soap into all the corners. The process was not pretty, but it worked.
If the soap sags in the middle as it cools, use a small flat piece of wood or a stiff-bladed spatula to gently press the edges down so the top becomes flat again. The more water is in the molded soap, the more it will sag in the middle, much like a normal rebatch or HP soap.
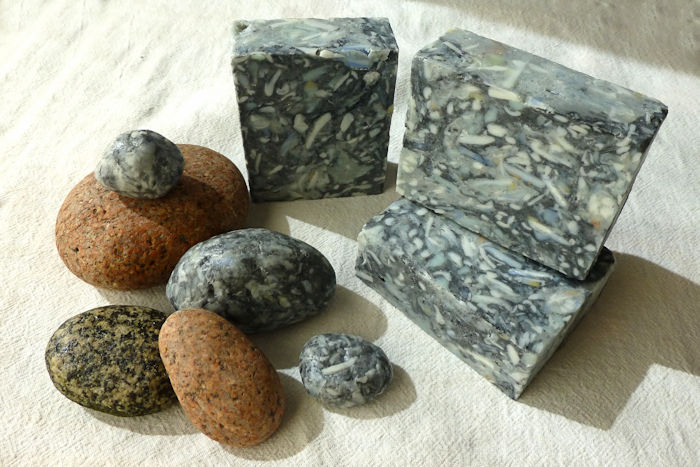
The reddish and dark gray stones (lower left) were the inspiration for this whipped soap.
Unmold and cut the soap
Let the soap cool thoroughly before removing from the mold.
You may need to let the unmolded soap dry in the open air for awhile before cutting depending on the water content in the soap. More water = softer = wait longer to cut.
If you have a wire cutter, it may be possible to gently cut the bars at this time. If you must use a knife, you may need to wait longer for the soap to firm up before cutting.
Once the bars are cut, the soap will be soft enough that it can be easily formed by hand into other shapes if you like. Once the soap is formed to your taste, set the soap aside to dry and cure.
More information
(1) Method: https://www.soapmakingforum.com/threads/smf-march-challenge-whipped-soap.58858/post-583348
(2) Example soap: https://www.soapmakingforum.com/threads/smf-march-challenge-entry-thread-whipped-soap.59019/post-584849
Copyright © 2002-2025 - All rights reserved by Classic Bells Ltd.
Template by OS-templates.com